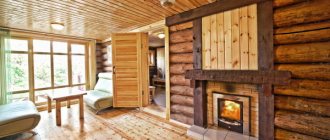
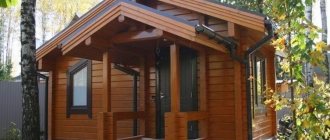
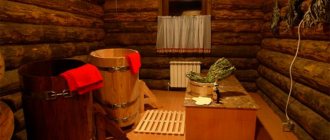
To make your bathhouse look beautiful, you need external finishing of the bathhouse. Any structure is part of the overall design of the site, but the steam room is designed to “rest” our body, so the internal atmosphere in it should always remain comfortable.
We can achieve this only by insulating the walls and finishing them with suitable material.
>
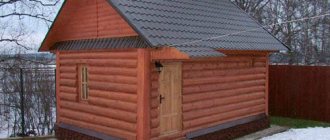
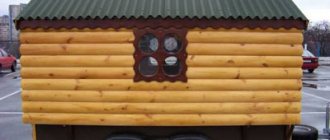
External cladding is the final stage of construction
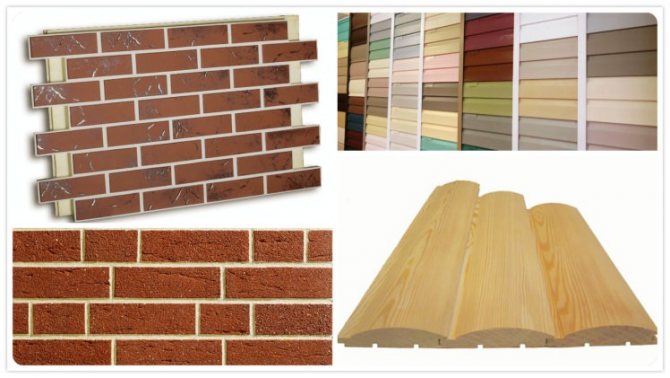
Features of siding for finishing a bath
Before proceeding with the installation steps, it is recommended that you familiarize yourself with the technical characteristics of the siding:
- High wear resistance
. Siding is a strong and durable material that does not require frequent maintenance. But when washing it, it is recommended to avoid using strong detergents and rough brushes. Thus, you can significantly increase the service life of the material. - Large selection of colors and textures
. Siding can copy natural materials 100%, which is why many people choose it. - Easy to install
. Siding panels are installed on any material in a similar manner. All steps are repeated for concrete, wood, brick, foam blocks. It is worth noting that installation operations are described in detail in the manufacturers' instructions. - Environmental friendliness
. For the production of siding, raw materials are used that are not afraid of mold, fungi and parasitic insects. Siding does not cause allergies, so many people use it for cladding walls inside. - Availability
. Siding is one of the most affordable products among facing materials in Russia. - Additional properties
. Siding panels perfectly insulate a building from sound and retain heat inside when using thermal insulation materials. The siding also has protection from ultraviolet rays, so it does not fade or crack in the sun.
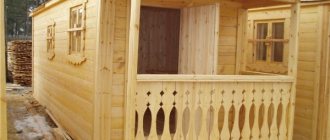
Facing brick
High-quality facing brickwork will fit perfectly into the landscape of any area in the countryside.
It will look great on a frame bath.
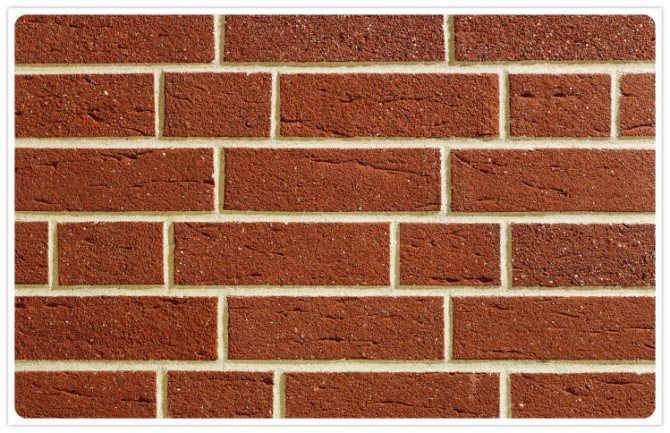
Moreover, lining a frame structure with brick and laying it out completely will be done completely differently. This will include parameters such as finances and your own time.
As you know, a distance is created between the brickwork and the wall, so this very distance must be filled with insulation, which will add additional warmth to the frame structure.
Types of siding for cladding a bathhouse
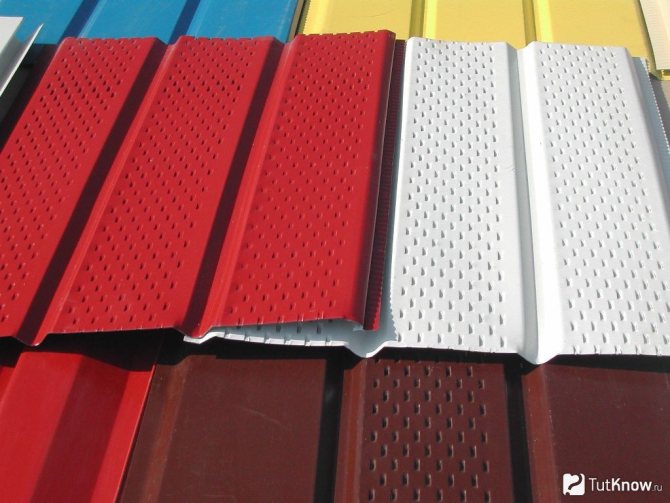
To decorate a bathhouse with siding, wooden, vinyl and basement types are used:
- Wooden material
. Contains various resins and additives that increase resistance to moisture and temperature changes. When choosing wooden material, remember that it needs to be treated with special substances that repel pests. - Vinyl material
. This type of siding is made from polyvinyl chloride. It consists of two layers: the first protects the building from atmospheric influences, and the second is a durable substrate. - Base material
. It is used specifically for covering the base and has high strength characteristics. Basement siding is made from polypropylene resins and special components are added to improve durability.
Note! If you want to insulate a log bathhouse and preserve its appearance, use wooden siding for a log house. It is made from wood shavings that have been pressed. The material will repeat all the lines of the log structure.
Exterior decoration - definition
So, first, let’s define what exterior decoration is.
The definition includes: finishing of facades, plinths and structures.
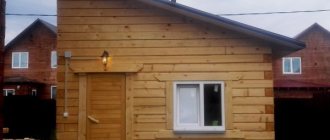
Materials for exterior finishing of frame baths
Not only plaster and paint can make a bathhouse look beautiful.
Despite the fact that the design itself is quite simple, you can always give a frame bath a neat appearance (if there is a desire and opportunity).
Since there are plenty of construction stores and markets in every city, the choice of building materials is just as great.
The limitation can only be set by the imagination of the owner of the frame bath.
Let's consider the materials that can be used:
1. Thermal panels; 2. Facing brick; 3. Vinyl siding; 4. Blockhouse;
Preparing to cover the bathhouse with siding

Before starting work on installing siding for a bathhouse, you need to be well prepared:
- Remember that the finishing of the external walls of a wooden bathhouse begins only after it has completely settled.
- Make sure that there are no cracks in the walls of the bathhouse and that the surface is completely flat. Otherwise, the finish will look crooked and adhere unsteadily to the sheathing.
- For the sheathing you will need a punch, hammer, tape measure, fasteners, spring punch, tin snips, staple gun, punch and level.
- Fasteners (nails, screws) must be made of stainless steel. Their length must be at least 30 mm, and the diameter of the cap must be at least 8 mm in diameter.
Lining for external work
How else to cover the outside of the bathhouse? Most often, plastic lining is used to create a budget finishing option. This is perhaps its main advantage. One panel is approximately 60 mm wide. It is produced in a fairly wide range of colors, which allows you to choose almost any color. But for this coating, colors that imitate wood are most often used.
The range of its shortcomings is quite wide:
- Plastic does not allow air to pass through;
- There is no naturalness and environmental friendliness desired for a bath;
- Bends and cracks easily;
- When burned, it releases toxic fumes.
Wooden lining is more environmentally friendly and natural. It allows the surface to breathe. Therefore, if possible, it is better to give preference to it.
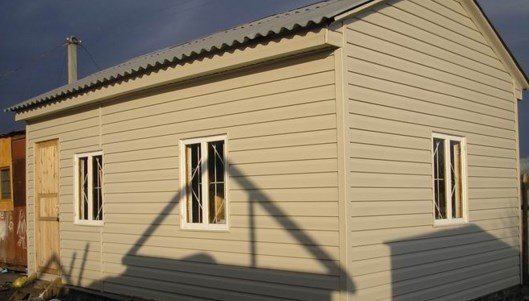
The procedure for finishing a bathhouse with siding
Covering the outside of the bathhouse with siding is carried out in several stages. Let's get to know them better.
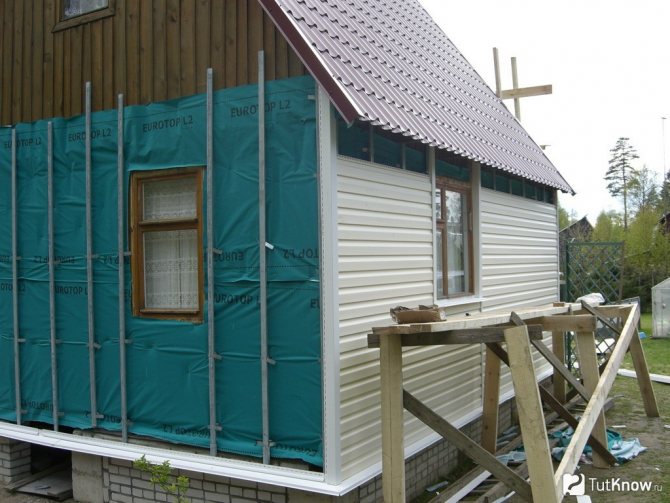
Creating a frame for attaching siding to a bathhouse
Install vertical supports made of wood or metal profiles.
If you prefer wood, prepare bars 30x40 or 50x50 mm; if a metal profile, use a ceiling profile 60x27 or 50x50 mm. Remember that the distance between wooden or metal posts should be 40-60 cm. Creating a frame begins with the installation of corner supports. To form the corners, connect the supports together so that they are at an angle of 90 degrees to each other. Then attach the remaining studs to the walls using straight or short hangers. The choice of hangers depends on the distance that needs to be left for the insulation or ventilation gap. The hangers are screwed using self-tapping screws (used for wooden walls) or dowels. To make work easier, stretch a cord between them - it will serve as a guide for installing the next racks.
The tree must be treated with an antiseptic.
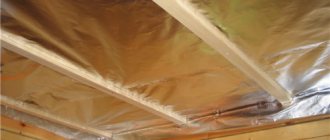
Laying insulation when covering a bathhouse with siding
For insulation, glass wool and its variations are used mainly, as well as polystyrene foam and polystyrene foam of different densities.
Insulation is sold in the form of rolls, mats or thermal insulation boards. When choosing the shape of the insulation, be guided by the size of the gaps between the frame supports, since it will need to be laid exactly there. For example, if the size of the gaps is about 50 cm, it is convenient to lay 50x100 cm mineral wool mats. The thickness of the insulation depends on the climate of the region in which the bathhouse is located. In the south of Russia, the thickness varies between 5-10 cm, in the north - 20-25 cm. After installing the insulation, cover it on top with a waterproofing film - attach it to the sheathing with a stapler. Start with the bottom row and stretch the film horizontally. Install the next rows with an overlap of 100 mm on the previous ones. After this, make a counter-lattice under the siding.
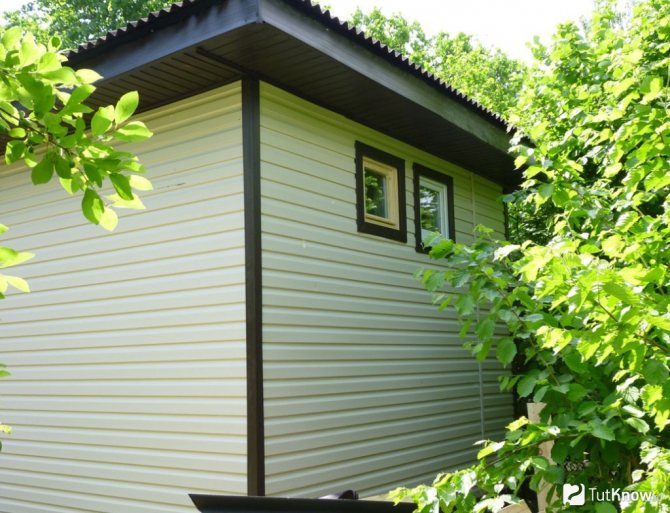
The procedure for covering a bathhouse with siding
Using a level, measure the line of the end of the base ebb, on top of which you need to attach the starting strip.
Install an H-profile where the panels join. This element is optional, but over time dust will accumulate at the joints, which can ruin the appearance of the bathhouse. Installation of siding begins from the middle of the wall to the edges. First, set the starting bar. Attach it using self-tapping screws to the lower points of the frame supports in a horizontal direction.
Facing with siding panels is carried out from the bottom up. Each panel is equipped with special grooves in the lower and upper parts. Take the next panel and slide the bottom of it onto the starting strip. Place and snap the top row panel onto the top groove of the installed panel. There is a cutout on the side of the siding panels designed to allow each panel to overlap the other. Thus, there will be no voids between the panels.
Remember that siding can be deformed under the influence of temperature changes, so the panels must be fastened in such a way that they can move in the mounting holes. When the entire wall is sheathed all the way to the top, install the finishing strip.
Don't forget to attach the siding to the frame with nails or screws. To do this, make holes in the upper part of the panels with a puncher (nail spacing is no more than 40 mm). Every 5-6 rows, level the finishing surface using a level.
Note!
When installing siding, a situation may arise when the panels do not fit together tightly. Many owners perceive this as a tragedy, although it is enough to apply a little super glue (between poorly joined panels) and the problem will be eliminated. In this case, it is important to ensure that the edges of the joining panels are free (for expansion under the influence of temperature changes). Features of the external finishing of a bathhouse with siding are shown in the video: There is nothing complicated about lining a bathhouse with siding. It is reminiscent of putting together a children's construction set. If you follow all the instructions and recommendations, you will get high-quality sheathing that will last for many years.
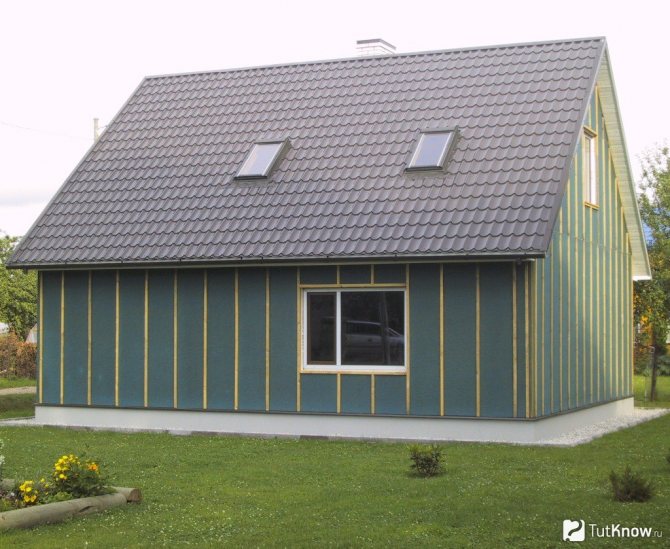
Imitation of timber
One of the modern types of lining is imitation timber. For facade work, boards 15 cm wide and more than 10 mm thick are suitable. A smaller size will look like a simple lining. The main difference between this material is a special groove in the center, which allows you to relieve tension in the wood, extending its service life.
The raw material for imitation timber can be any type of wood. It is better to use coniferous species for finishing the facade.

Positive aspects of the coating:
- Naturalness;
- Easy installation;
- Resistant to chemicals and mechanical damage;
- Beauty;
- Has various dimensions;
- Provides additional thermal insulation;
- Long service life.
But this coating also has its drawbacks:
- Periodic treatment with moisture-protecting compounds is required;
- Subject to combustion;
- Requires treatment with an antiseptic;
- If the material is of poor quality, it may become deformed during operation.
Important requirements when working with simulation wood
- Accurate calculation of the amount of material;
- The bathhouse is covered with panels arranged horizontally, with the spike facing up;
- Fastening is carried out on a flat surface to the erected sheathing;
- If the sheathing is made of wood, then it is coated with an antiseptic;
- All protective compounds must be applied to the imitation timber before installation; this will provide protection not only to the front side, but also to the joints and the rear part.
We recommend watching the video:
That’s it, now it’s up to you how to cover the outside of the bathhouse. There are enough materials and construction products, the main thing is to clearly calculate everything and act carefully.
In addition, before repairing, do not forget to read the instructions and strictly adhere to them during the work process.