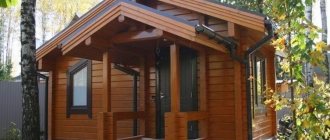
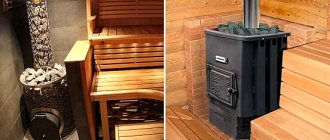
Sheathing with wooden slats is a trouble-free option for a country house, cottage, loggia or balcony. The material is very attractive in appearance, warm to the touch, relatively durable and has the ability to regulate the microclimate of the room. It’s easy to choose wood for your interior design – there are countless color and structural options, and installation is a job that even a beginner can handle.
Choosing a fuse paneling
Options for lining for a steam room
In this room they use high quality lining, which can withstand exposure not only to moisture, but also to steam and high temperature.
For the steam room, deciduous trees are recommended. Conifers do not tolerate humidity well. Smooth panels with a smooth surface without any defects are made from hardwood.
Lining Canadian cedar, calm, Extra grade, 12x140x3350 mm.
RUB 3,149
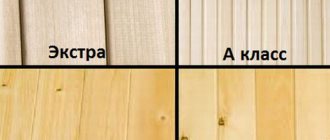
Alder lining Extra grade
220 rub.
Alder lining grade A
210 rub.
Canadian cedar lining, Extra grade, 12x95x2440 mm. Europrofile
RUB 1,025
Durability class
According to European standards regulating finger-joined wood, lining is divided into appropriate classes, which determine its use.
- D1 – the product is used for interior work, in rooms with a humidity level of no more than 15%.
- D2 – use limited to areas where short-term accidental exposure to flowing water or increased humidity levels is possible.
- D3 - products of this class are suitable for rooms with constant and fairly high levels of humidity. This option can be safely used for kitchen cladding, as reviews indicate.
- D4 - jointed lining can withstand both prolonged dampness and prolonged exposure to flowing water and steam. It can be used both for baths and for external work, but only with a protective coating.
Qualitative characteristics
Just as in the case of conventional lining, the properties of the material depend on the type of wood and the grade of the boards, in this case the fragments that were used in the manufacture of the lamellas.
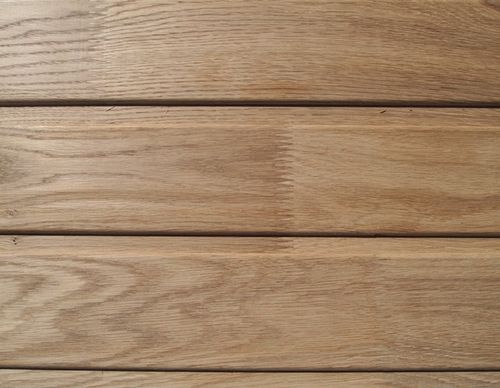
- Spliced lining is made from valuable wood species - oak, beech, ash. But more often this material is used as a flooring: due to the high hardness and wear resistance of wood.
- Aspen trim, especially white, is readily used for baths. Judging by the reviews, the material is in no way inferior to solid aspen slats. The same can be said about linden. Here it is important to pay attention to the product class – D4. The photo shows the finishing with aspen lamellas.
- Products made from larch are traditionally used for covering verandas, terraces, and balconies, since this tree is insensitive to moisture and the cost is quite affordable. Larch slats are also used for external work, but treatment in this case is recommended: the adhesive seam reduces the resistance of larch boards to temperature changes.
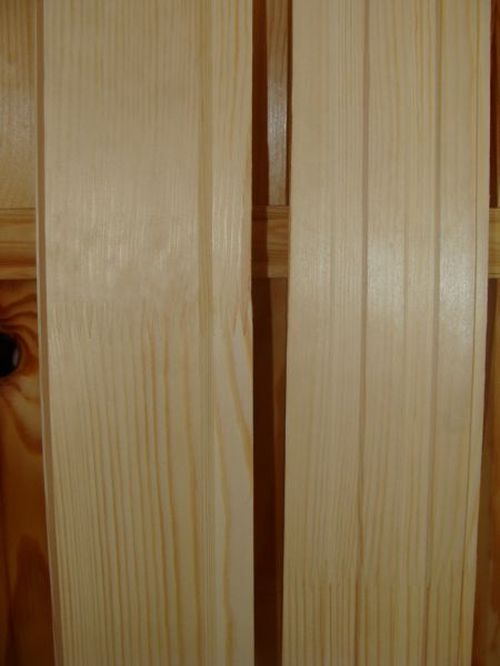
- Jointed pine boards have the same advantages and disadvantages as solid ones. Except for less drying, of course.
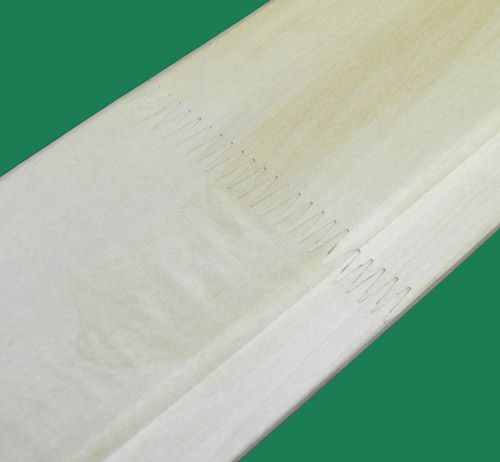
Products made from coniferous trees - pine, spruce, larch, obtained by splicing, as a rule, have a higher cost. This is not due to the qualities of the wood or technology, but to the tendency of the tree to form knots. The splicing method allows you to create “Extra” grade material in the required volumes, which, for example, is extremely difficult for solid spruce or larch.
Choosing a lining for a waiting room
In this room the temperature and humidity are lower than in the steam room. Therefore, for finishing you can use wood of any species, incl. and conifers. They will give off a pleasant aroma. The lining made from pine is cheaper, the more expensive is the one made from birch, aspen or linden.
If you plan to cover not only the walls of the dressing room, but also the ceiling, it is recommended to take material from wood of the same species. There is no need to coat the surface with varnish or paint. But in order to protect it from moisture and pests, an antiseptic is used. It is also used for wood that will be used to sheathe the steam room. In addition, the material is impregnated with fire retardants to increase the level of fire safety and extend the service life of the products.
Lining for walls outside the bathhouse
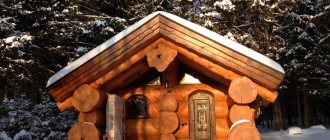
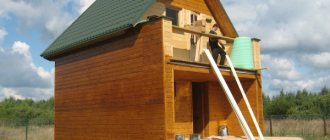
It is customary to clad the premises in the bathhouse with wood. But this material can also be used for external cladding. However, higher demands are placed on it, since the aggressive influence of the external environment is great.
According to the profile shape, “American” or “block house” is more often used, i.e. imitation timber. As for the type of wood, coniferous or aspen are suitable.
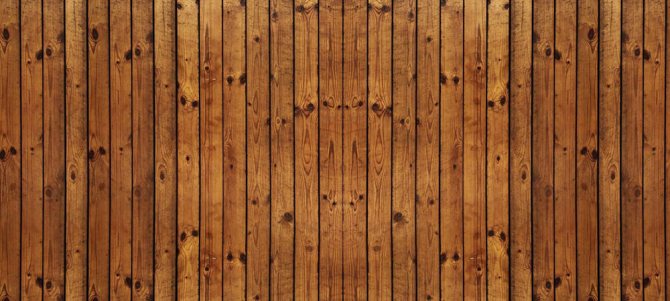
Wooden lining for a bath
Choosing a shower lining
Shower rooms are characterized by high air humidity. Therefore, here it is necessary to use materials that better withstand such conditions. These are mainly coniferous trees, incl. spruce and pine.
According to profile shape
When choosing, the shape of the lock profile plays an important role. The type of front surface is also important, but to a greater extent for aesthetic perception, while the profile of the lock affects the installation and performance characteristics of the assembled covering.
Sheet piling assembly is considered a priority, since such lining does not warp even after temperature changes.
Types of lining
There are different types of lining. The choice depends on several factors: where it is installed indoors, whether it is used for outdoor work, what the climatic conditions are in the region, etc.
Eurolining
Types of eurolining have a common feature - the presence of ventilation gutters, which are located on the back side of the panel, in the longitudinal direction. They provide an outlet for moisture that collects on the walls of the bathhouse. If you do not provide a ventilation system, the material will “lead.” And here the ventilation is already there, no additional work will be required.
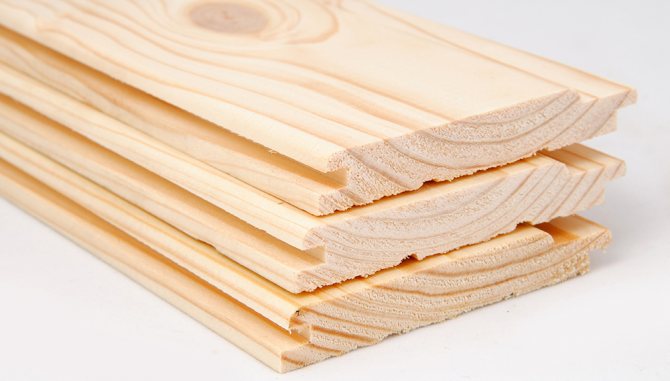
Eurolining
Lining - "quarter"
The lining is also made of wood, but a quarter is used on the back and front sides. This design feature is considered the main advantage, since it facilitates installation - it will not be possible to connect such boards incorrectly. However, the material is not suitable for exterior finishing of a bathhouse, since there is no tongue-and-groove connection.
The lining can only be installed horizontally: when laying vertically, it is impossible to connect the lamellas with a sufficient degree of strength.
Quarter paneling is not as popular as it used to be. It does not provide a tongue-and-groove connection. Under the influence of temperature and high humidity, the coating can diverge greatly.
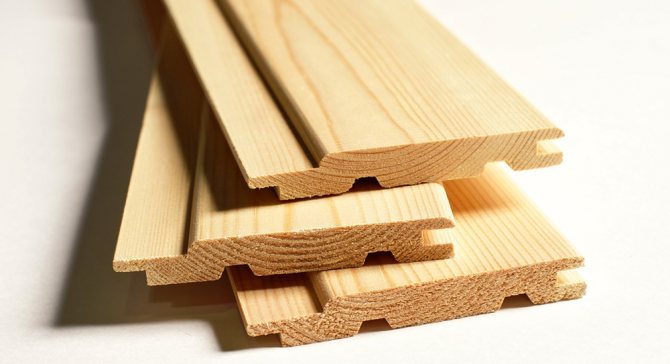
Quarter paneling
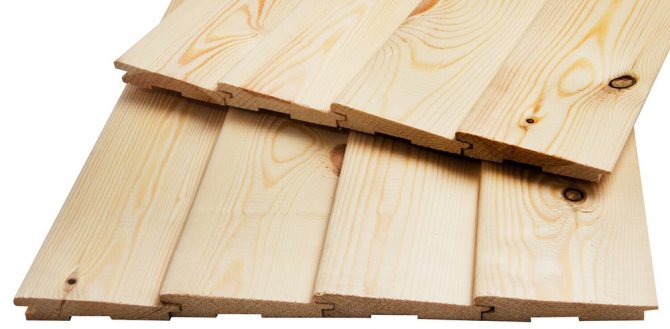
American lining
This is a universal variety. It is used mainly for the outer cladding of the bathhouse. The difference between the lining is the shape of the lamellas - an irregular triangle.
The end of the panel, which is larger, is equipped with a groove designed for mounting a narrower end. “American” can be laid with an overlap. This helps protect the joints from environmental influences.
At the same time, the flat front side of the “American” looks like a beam, which makes it attractive.
The difference between this lining is its massiveness. The width is at least 14 cm and the thickness is at least 2 cm.
American lining
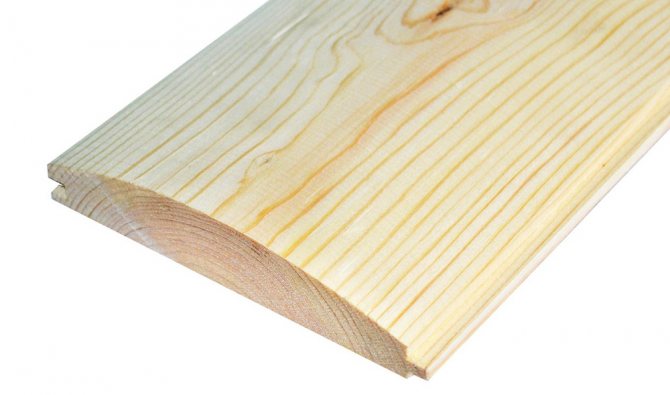
Block house lining
The difference is the rounded front side, which allows you to imitate a rounded log. There is a tenon at the top of the lamellas and a groove at the bottom. “Block house” is made not only from natural wood, but also from metal or polymers. Any of the materials is suitable for the exterior decoration of bathhouse walls.
The advantage is the accuracy of the geometry, which simplifies and facilitates installation work.
Block house lining
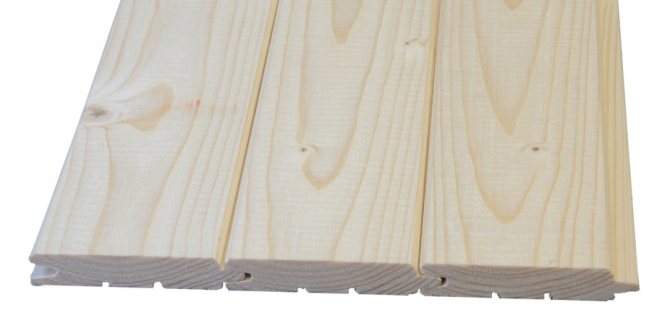
"Peasant" paneling
This is how standard lining is called for its simplicity of design, since it is characterized by smooth and flat panels.
This is a practical and convenient finishing material. Thanks to a shorter tongue (compared to other types), the “peasant” lamellas are connected tightly, thanks to which you can get a solid wall with virtually no gaps.
"Peasant" is suitable for exterior decoration in regions with high wind loads. It provides the building with protection from cold air flows.
Peasant paneling
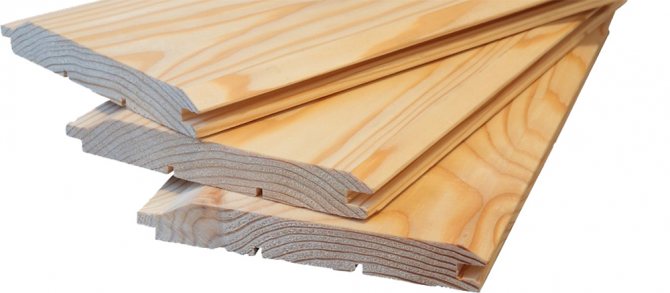
Imitation timber block house
This lining is a block house. Some manufacturers just call it imitation timber.
Lining imitation timber block house
Preparatory work for ceiling cladding
In order for the ceiling in a bathhouse made of lining to be durable, it is necessary to install a specially supporting frame. Correctly installed lathing makes installation of finishing material easier. Wood, metal and plastic are used to make the frame. Each type of material has its own advantages, but most often wooden lathing is used for a bathhouse.

Before installing the structure, the ceiling is insulated with heat-insulating material to retain heat. To keep the insulation layer from getting wet during operation, a vapor barrier material is used, which is one of the main components of the ceiling elements.
Vapor barrier materials:
- Clay with sawdust or straw.
- Fiberglass fabric.
- Polyethylene membrane film.
Cladding the ceiling in the bathhouse with clapboard is carried out after all the preparatory work has been carried out. The wooden beam for the frame should not be wet; this can affect the deformation of the structure and the appearance of the finishing material. For good air circulation, small gaps are left between the lining and the frame to increase the service life of the material.

Calculate the area of the internal lining
It is necessary not only to choose the type of lining, but also to make the necessary calculations in order to buy the required amount of material (with some margin).
The area taken into account is not the area of the room, but its walls, and sometimes the ceiling, since lining is not used for the floor.
For example, a bathhouse consists of 2 rooms. The area of the steam room is 3x2 (m), and the area of the dressing room is 3x1 (m). At the same time, the ceiling height is standard - 2.5 m.
Then the following algorithm is used:
- The area of 2 walls of a steam room 3 m long is 3 x 2.5 = 7.5 m (the total figure will be 15 m).
- The area of the short walls is 5 sq.m., and the total area is 10 sq.m.
- The area of the ceiling covering is calculated as 2x3=6 m.
- To finish the steam room, the lining should be 15+10+6=31 sq.m.
A similar algorithm is used for the waiting room. With the given values of material, you need to buy enough to be enough for another 23 sq.m.
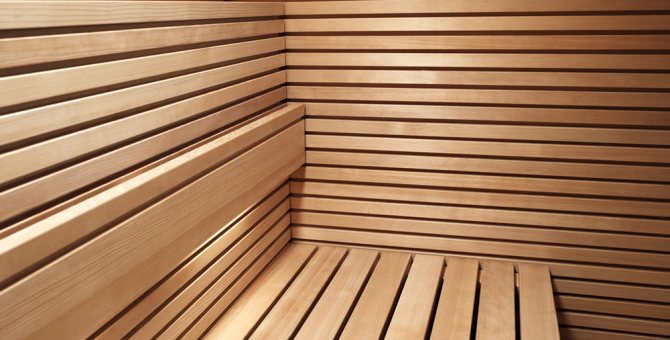
Wooden lining for a bath
How to take measurements correctly
To buy the required amount of lining, you will first have to make accurate measurements - this is the only way to make calculations.
To do this you need:
- Measure the length, width and height of the walls in the steam room and dressing room.
- Mark the location of the oven. For fire safety reasons, the walls near it are finished not with clapboard, but with tiles or natural stone (the width of such a zone should be at least 40 cm).
- Calculate the planned insulation thickness.
After taking measurements, you need to decide what type of installation to implement - vertical or horizontal.
For example, the ceiling height is 2.5 m, and the vertical method is chosen for finishing. Then you need to look for lining 2.5 m long. The walls will be finished with such panels. When covering the ceiling, their length depends on the width of the room. With the horizontal cladding method, they look for material whose length is equal to the width of the wall: in the example above it is 3 m.
A bathhouse almost always needs insulation. Therefore, measurements are taken taking into account the installation of the frame and the thickness of the insulation.
Lining area (square meters)
When purchasing material, it is better to enlist the help of a specialist who can help you calculate the required amount of material. Or you will have to do additional calculations yourself, since products are sold by cubic meters, and the required area for covering is calculated.
There are special tables that indicate how many square meters of lining are contained in 1 cubic meter of material. Moreover, the length of the products is taken into account. For example, with an indicator of 3 m in 1 cubic meter - 278 boards of size 96x12.5 mm. A specialist will help you perform more accurate calculations.
Installation technology
To cover the ceiling in the bathhouse, only frame technology for installing lining is used. The sheathing is attached to a supporting frame made of wooden blocks. Moreover, the same requirements are imposed on the frame material as on the cladding itself.
Important! Before installation, all wooden structural elements must undergo protective treatment. The wood is impregnated with fire retardants to protect against fire and treated with antiseptics to increase resistance to rot and mold damage.
Methods of fastening material
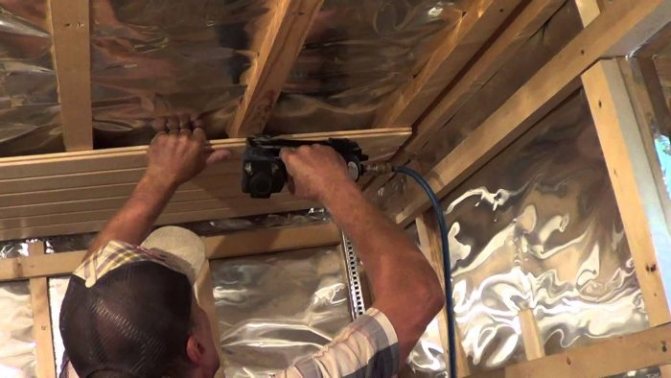
Covering the ceiling of a bathhouse with clapboard can be attached in several ways:
- The slats are attached to the wooden sheathing with nails or self-tapping screws, which are installed in the bottom flange of the groove. In this case, before installing the fastener, a hole is drilled in the desired location. The hardware is hammered or screwed into the shelf at an angle. Moreover, the head of the fastening element is recessed into the body of the board so that it does not interfere with inserting the tenon of the subsequent panel. This method of hidden fastening is not very good because it increases the likelihood of cracking of the material.
- Hidden fastening using clamps is considered the best way, because with such fixing the lining is not damaged at all. The fastening element is inserted with a tooth into the groove of the board and screwed with self-tapping screws or nailed to the frame. The part does not interfere with the installation of the next element at all.
- You can also use open fastening of the lining to the frame. This method is used to fix thick solid boards. A hole is drilled through the front surface of the product, through which hardware is screwed in to secure the panel to the frame. Subsequently, the holes with the recessed fastener head are closed with decorative inserts.
- Another method of hidden fastening is often used by professional craftsmen. Its essence is as follows. Nails are driven into the frame at ½ of its height in increments equal to the width of the lining. After this, the heads of the fasteners are removed with pliers. The facing boards are laid with their backs on the cut nails and pressed onto them with blows of a mallet.
Tools and necessary materials
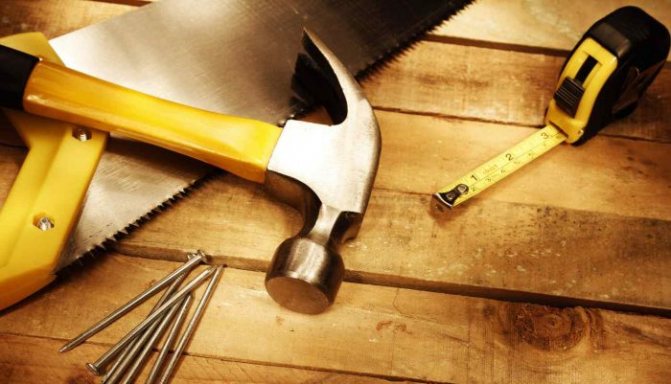
Before you properly cover the ceiling in a bathhouse with clapboard, you need to prepare the necessary materials and tools:
- wooden lining;
- bars with a section of 50x50 mm;
- slats with a section of 2x3 cm;
- drill;
- screwdriver;
- waterproofing film;
- thermal insulation material;
- vapor barrier;
- hammer;
- clamps;
- nails (short and long);
- building level;
- roulette;
- pencil and ruler;
- ladder;
- stapler;
- scotch;
- stationery knife or scissors;
- saw for cutting wooden elements;
- mallet.
Frame installation and ceiling insulation
To begin with, the bathhouse ceiling lathing is constructed and the ceiling surface is insulated.
How to cover a balcony or loggia with clapboard?
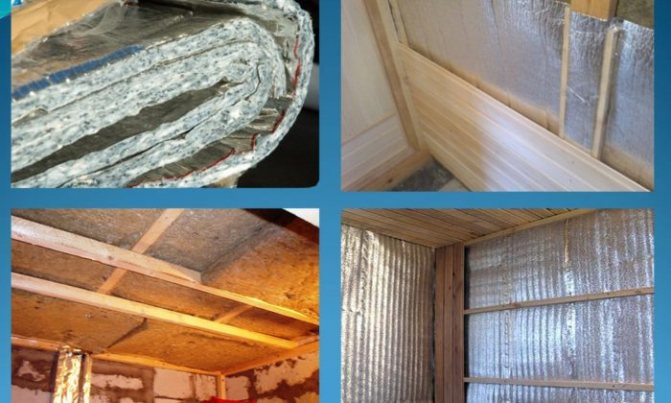
We carry out the work in this order:
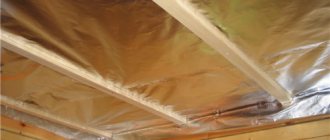
- First, we attach a layer of vapor barrier to the ceiling beams. We roll out the material into strips and lay it with an overlap of 15 cm. We glue all joints with tape. To fix it to the beams we use a construction stapler.
- After this, we build a supporting frame from timber with a cross-section of 5x5 cm. We mount the timbers to the floor beams in increments of 40 cm. For fastening, we use long wood screws.
- We lay the selected thermal insulation material between the lathing slats. Stone wool with a foil layer is optimal for insulating a bath. This reflective layer should be facing inward. The insulation boards are cut according to the pitch width of the frame plus a small margin of 1-2 cm for laying in the spacer.
- We line the bottom of the thermal insulation material with waterproofing film. We lay the waterproofing strips with an overlap of 15 cm. We fasten the material to the frame with a stapler. We seal all joints with self-adhesive tape.
- Next, we attach 2 cm thick slats on top of the waterproofing. They are needed not only for additional fastening of the previously laid layers, but also to create the necessary ventilation gap between the clapboard sheathing and the insulation. We fasten the slats with self-tapping screws to the frame.
Fastening the lining
Now let's talk about how the lining in the bathhouse is installed on the ceiling. We turn the first element with the spike away from us and install it flush against the wall. The part is mounted perpendicular to the direction of the frame slats. We hold the panel with our hands and secure it into the groove with clamps. To do this, the tooth of the fastening device is inserted into the groove, and its lower part, adjacent to the frame, is screwed with self-tapping screws or nailed with thin nails.
The next board is cut to length and installed with a tenon in the groove of the previous element. It is attached to the frame in the same way (with clamps). The edge panel on the ceiling surface is cut to width, inserted with a tenon between the shelves of the previous part and nailed to the frame with a nail through the front surface. In this case, the place where the nail is driven in should be as close as possible to the wall, so that in the future it will be covered by the ceiling plinth.
Only professionals or the following video can clearly show how to attach the lining to the ceiling in a bathhouse:
